|
Step 1 On to the frame now. First open an new transparent canvas 250 x 300 pixils.
Set foreground color to #E7D6E6 and your background color to .#F1D8DC. Now
were going to alternate between both colors. Go up to image add border set
it to 2 symetric checked, now flip your background and foreground colors
and add another border, then flip the foreground and background colors
again. This is what you should have now.

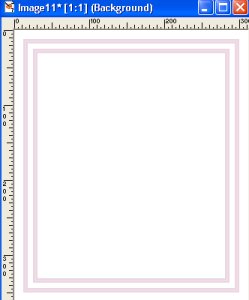
Step 2 Now change your background color to
white and add another border but this time set it 7 symetric checked.
Step 3 Repeat adding borders as in step 1
Step 4 Now change your background back to
white and add a new border this time 12 symetric checked You should have
something like this.
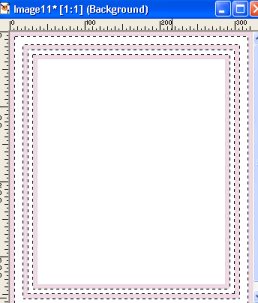
Step 5 Repeat adding borders as in step 1 one
last time.
Step 6 Now using your magic wand click on the
white section then while holding down the shift key select the other white
border so that you have both white borders selected. This is what it
should look like with the roaming ants.
 BackNext BackNext
Return to
Tutorial Archives |